Learning
Seth Cohen
In the first installment of AutoCAD 3D modeling tips and tricks, we discussed wireframe modeling. Although this method of modeling may seem unconventional, if it gets the job done, then, well, it gets the job done. In this installment and the final third article, we will discuss some AutoCAD 3D modeling tips and tricks when working with solid modeling. Let’s dive in.
Viewing Tip: To isolate the viewing of 3D objects, select them first and then use any of the 3D Orbit tools to view them individually.
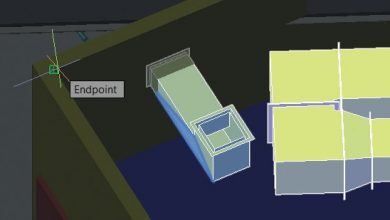
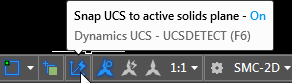
UCS Tip: Use Dynamic UCS only in certain circumstances such as when looking to create objects at the center of a 3D face.
OTRACKing and 3D OSNAPing Tips:
- You can get to any Z value, by simply acquiring its point.
- OTRACKing can be used to acquire any point on a 3D face. Use a Temporary tracking point (SHFT+ Right-Click) to get the first point, and then use POLAR tracking to get the other point.
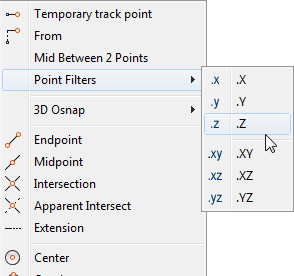
- To get the X, Y, or Z from any 3D object within your design to use somewhere else, use point filters (SHIFT+ Right-Click).
3D Gizmo Tips:
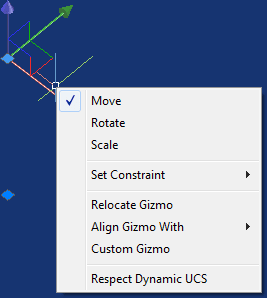
- Use the 3D Gizmo to quickly move, scale, or rotate 2D or 3D objects.
- For the 3D Gizmo to work, you must have your viewport set to a 3D visual style.
- To access additional 3D Gizmo options, right-click on it after selecting an object.
Converting 2D Objects to 3D Solids Tips: You can draw sections to create 3D data. The DELOBJ variable controls what happens to the 2D data used to create the 3D surfaces or solids. The DELOBJ variable can be set to one of the following settings in the image below (taken from the AutoCAD Help):

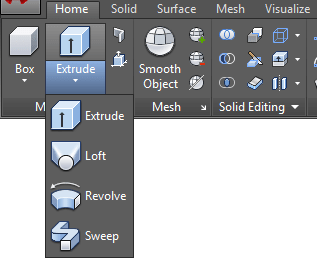
The “2D Profile” commands are located in the Home tab > Modeling panel of the 3D Modeling workspace.
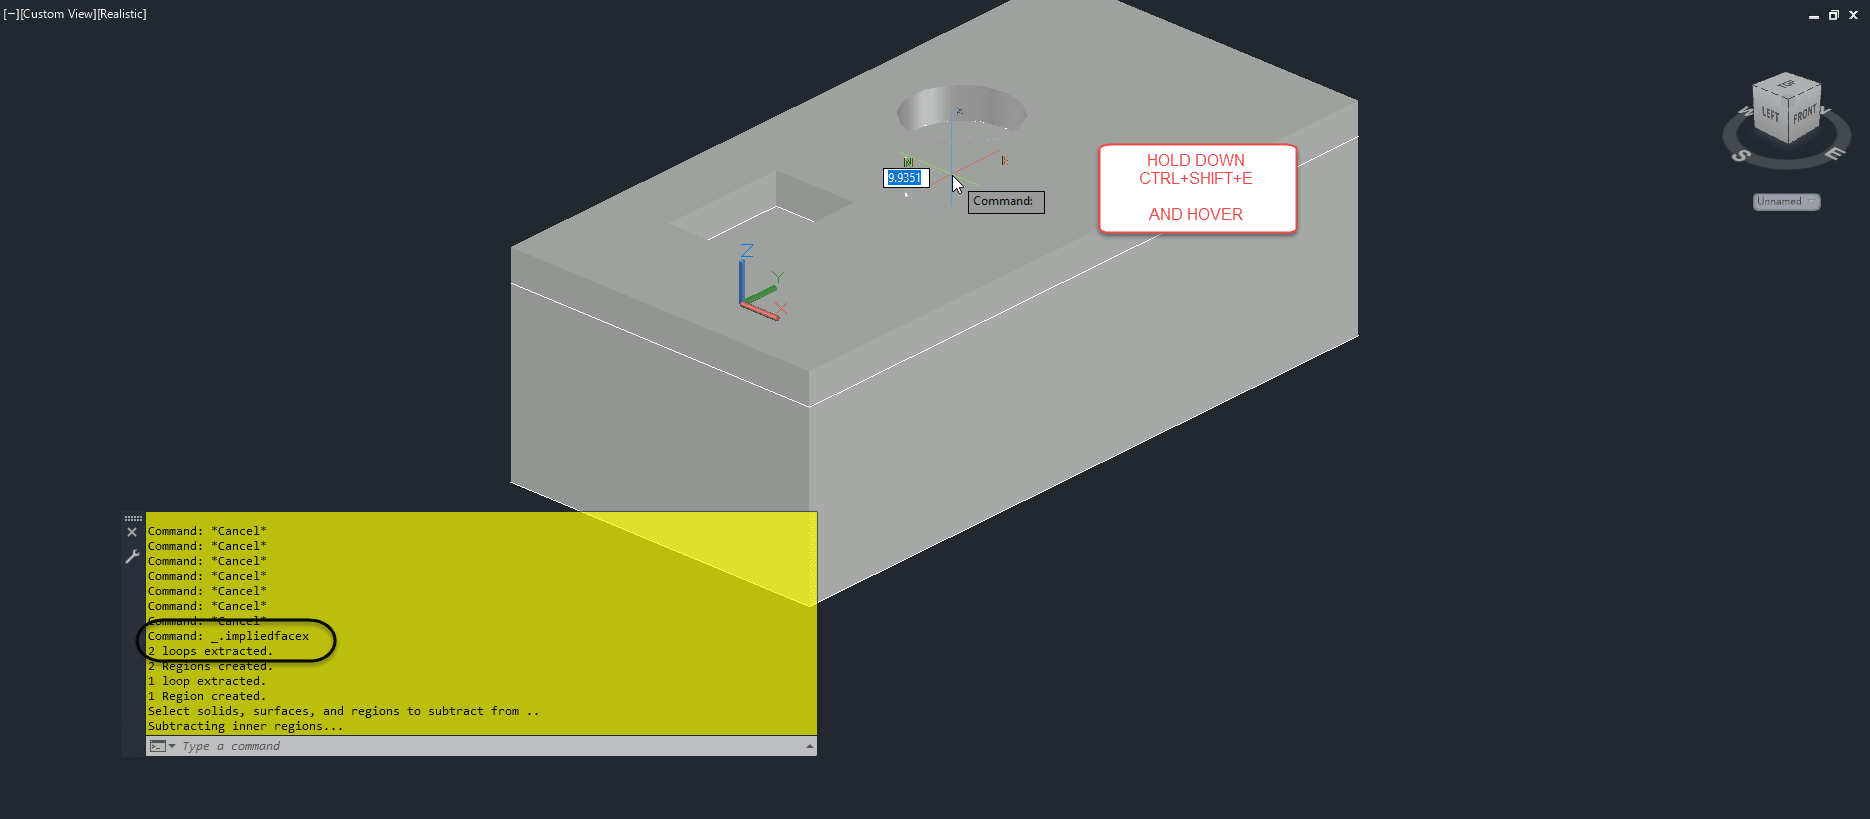
To extrude a set of 2D objects quickly, press CTRL+SHIFT+E, and hover over the area.
Stay tuned for even more solid modeling tips, including arrays and surface modeling, in the next article!
Source: Autodesk