Many companies today are transitioning from standard 2D drafting to 3D modeling. Companies are doing this for many reasons. Some see the marketability, others do it to improve design efficiencies. However, the main reason is to stay competitive.
While some companies have available manpower, financial support, and resources to support this change, most smaller businesses don’t have that luxury. Making this transition can be expensive, stressful, and challenging. But if you have a plan and understand a little of what the process will entail, it will make things a little easier. I’m going to take you through some tips and ideas for smaller businesses to make this transition as smooth as possible.
In Part 1, we talked about doing the research to find out what’s most effective for your workflow, and in Part 2, we looked at gaining the necessary approvals. In this final entry, we’ll explore overall implementation after finishing your pilot project, and the best methods for staying on a successful path.

Contents
Processes
Howdoesyourdailyandoverallprojectworkflowchange?
For us, we typically had engineering staff go through the design calculations, make up or sketch out their designs, and then we would draft them in AutoCAD. Once we moved to 3D, you must start right away with design. We had to coordinate design items first, which allowed us to start laying out tanks, buildings, and equipment before the engineer was ready. Most of your 3D programs are more of a design software not just drafting. Our company users are considered specialists because they use more than just AutoCAD.
Whatstepsareneededtoensureyoucandesignamodelandcoordinatewitheveryoneelseintheproject?
For example, does your company use outside, subcontracting consultants during your designs. We sub out all of our structural designs. Our subcontractor uses Revit for their designs, so we had to figure out how we can merge and coordinate models during our design process.
Game plan, game plan, game plan!
Once you have the software, hardware, training, and completed a pilot project you are ready to implement; you have to have a game plan. For us, even though we aren’t fully doing BIM, we created a BIM execution plan. You can find examples all over the web, but Penn State University provides a great template to start with. This outlines a step-by-step approach that is specific to your project. I recommend everyone creating an execution plan that is tailored to your company and specific project needs when starting a new project.

Summary/Review
At the end of the first project, review the entire process and see what worked and what didn’t. Keep in mind, every project that we have completed using 3D design has had something different come up! That’s why I recommend doing this step after every project in order to constantly be refining your workflow.
Continuing Education
Here are my recommendations to stay fresh and pave a successful path for the next project:
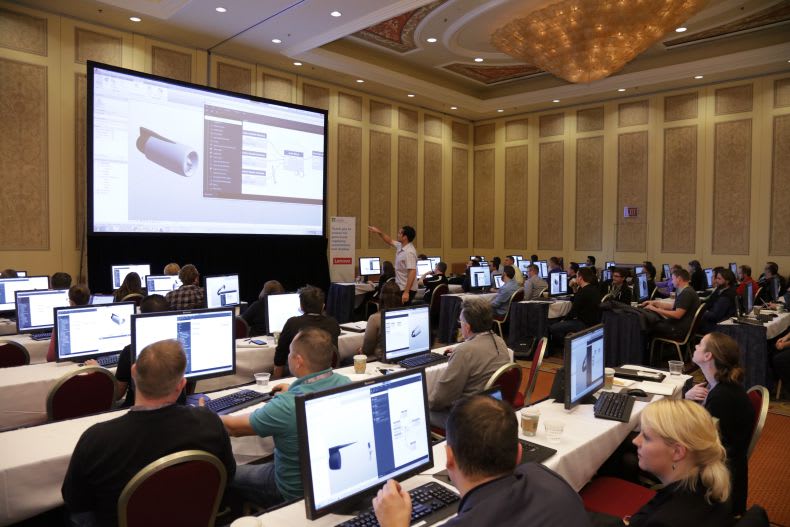
- Use Autodesk University as a platform to learn new ideas and ways of doing things.
- Talk with peers who are tackling the same things or using the same software
- Talk to your design team to modify your game plan
- Stay communicated with ownership! If they feel things are falling apart, you have to reassure them that it’s part of the process. Make them understand why things happened and what you are doing to change them.
Source: Autodesk