You can embed lights inside blocks that also contain geometry, thus creating light fixtures that model both the physical and photometric properties of actual light fixtures. To do this, you would first model the light fixture in 3D, then place lights in the proper location within the light fixture model, and finally, create a block containing both the 3D model and the lights. You could then place this block into other models.
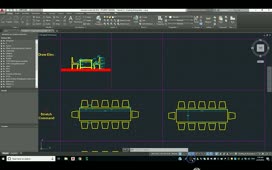
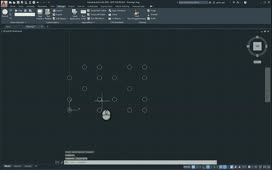
For example, the exercise files for this lesson include a pendant light fixture (29_PENDANT_LIGHT.dwg) that was modeled using the 3D modeling tools in AutoCAD. On the View ribbon, click Tool Palettes to open the Tool Palettes, and then click the Recessed 75W Lamp web tool. Add a light at the center of each of the five cylinders in the light fixture.
Then, use the in-canvas control to change the visual style to Realistic. When you do, you can begin to see the effects of the lights. At this point, you could create a block, or simply save the drawing and then insert it into another drawing as a block.
There is also a similar block representing a table lamp (29_TABLE_LAMP.dwg), which contains a single point light. Again, switch to a Realistic visual style, and you can begin to get an idea of what this light fixture will look like when it is rendered. Notice that this model includes some realistic materials that have been added to the various components of the light fixture.
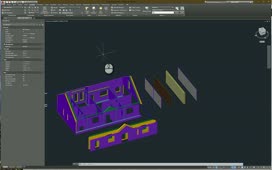
Once you create models of light fixtures, you can save them and then insert them into other drawings as blocks. For example, the exercise files include a model of a room (29_ROOM.dwg). The room consists of four walls, a floor, and a ceiling, and also contains several pieces of furniture that were previously modeled and saved as blocks. The drawing also contains the two light fixture blocks, as well as several other light fixture blocks that were modeled using the same methods. You can see the glyphs that indicate the lights within each light fixture block.
When you render this view, notice how the light is actually coming from the light fixtures, and that both the properties of the lights and the shape of the light fixture models affect the appearance of the light.
By placing each light fixture on its own layer, you can use layer controls to try out different light fixtures. For example, the model also includes a block representing a globe light in place of the pendant light. There are also several different views with different layers frozen and thawed. You can use the in-canvas view control to quickly switch views, which lets you quickly switch to the other light fixture. Now, when you render this view, the rendering includes the globe light fixture, and the lighting appears much different.
You can use this same method to switch to a completely different view, and then render the view to see the effects of the light. If you change to a similar view that includes the pendant light, and then render the view again, you can see what the room would look like if you used the pendant light fixture above the table instead of the globe.
Be aware that when you create light fixture blocks like this, you can no longer turn individual lights on and off. To switch off the light, you would need to go into the block editor in order to control the lights within the light fixture block.
Source: Autodesk