When you create a section view, you determine the position of the cutting plane. The appearance of the resulting section line is controlled by the section view style.
Once the section has been created, you can grip edit the cutting plane similar to how you grip edit a polyline. When you modify the cutting plane, the section view updates to reflect the changes.
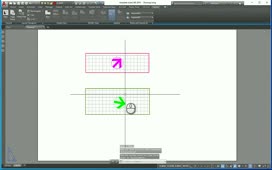
For example, in the exercise file you can see several views of a gear assembly. When you click to select the section lines, you see a number grips. You can use those grips to modify the cutting plane.
The grips look very similar to the grips you see when editing a polyline, and if you pause the cursor over a grip, you see an extended tooltip that shows the options available for modifying that particular grip.
For example, when you hover the cursor over one of the square grips, the tooltip includes tools to stretch that vertex, add a vertex, add a segment, remove a vertex, or flip the direction of the section. And when you hover the cursor over one of the rectangular grips, you can stretch the cutting plane, add a vertex, add a segment, or flip the direction.
Click Flip direction to flip the direction of the cutting plane for Section BB. As soon as you do, the section view immediately updates.
Click and drag the rectangular grip near the left side of the Section AA cutting plane. You can simply click and drag a grip to stretch or move the cutting plane.
Hover over the square grip at the right end of cutting line AA and then click Add vertex. Then, click and drag the rectangular grip in the middle of that new segment to move it to the left. Again, as you make these changes, the section view immediately updates. Hover over the square grip at the right end of the Section AA cutting plane and click Flip direction. When you do, the section view again immediately updates.
Hover the cursor over the square grip in the middle of the cutting plane and choose Remove vertex. Again, the section view immediately updates.
Click and drag the square grip on the right so that the plane once again cuts through the entire part.
As you can see, there are lots of ways in which you can modify the cutting plane.
Source: Autodesk