Contents
Issue:
How to create a dimension with cross(x) mark in AutoCAD.
Solution:
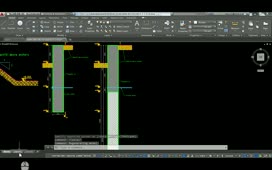
- In AutoCAD, a cross(x) mark can be created with CENTERMARK command or clicking on the Center mark icon under Annotate tab from the Ribbon.
- To generate the Center Mark when drawing a dimension at the same time, use below macro to create a LISP.
(defun c:cdim()((command “dimradius” pause)(command “centermark” pause “”)(command “dimdiameter” pause)(command “dimradius” pause)))
- Copy the Macro into Text file and save.
- Change the extension from .txt to .lsp to convert the file as LISP file.
- Load the LISP file by APPLOAD command from AutoCAD.
- Remove the Center Mark extension with CENTERMARKEXE command = OFF.
- Use command “CDIM” to create Center mark first and click the circle to create a diameter/radius.
- Select the circle and do ‘Right-click’ to change between ‘Radius/Diameter’
Products:
AutoCAD;
Versions:
any_version;
Source: Autodesk