Arrays are amazingly flexible, supporting rectangular arrangements, polar arrangements, and objects arranged along a straight or curved path.
The primary benefit of associative arrays is that the objects within arrays retain their relationships, making it incredibly easy to make adjustments to an array pattern, spacing, and location. This is much faster than changing the location of individual objects.
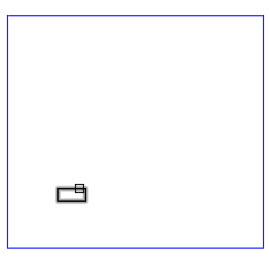
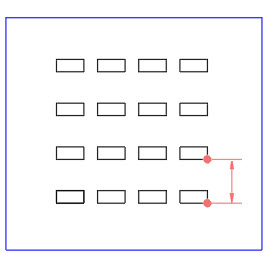
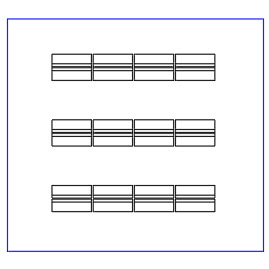
For example, let’s say that you’re laying out the display cases in a museum exhibit room. You’ve created a rectangle with the dimensions of the display case, and you want to arrange them in a simple, rectangular pattern of four rows and four columns.
Contents
Create an Associative Array
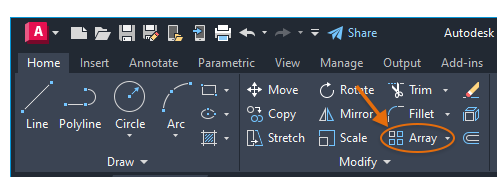
- Click Home tab > Modify panel > Rectangular Array.

- Select the objects to array, in this case the rectangle, and press Enter.
A default rectangular array is displayed, but the number and spacing of the display cases needs to be modified.
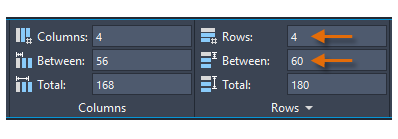
- Modify the values of the array by using the controls on the Array ribbon contextual tab.
The results can easily be modified iteratively by changing the values for Columns, Rows, and the distances between the rows and columns.
Note: The “Between” value under Rows is always measured relative to equivalent locations on the arrayed items, as shown.
Note: The term,
items, refers to the repeated elements in an array, which were created from one or more source objects defining the source.
Replacing the Items in an Array
Next, let’s say that this client requests a larger, more expensive display case using a back-to-back configuration.
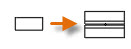
Here’s where you can save time with associative arrays by replacing the base element, which automatically updates the items in the array.
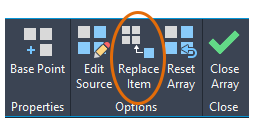
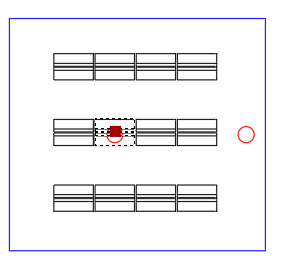
- Select the array object and click Replace Item from the Array ribbon contextual tab.
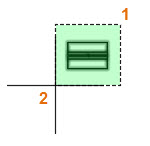
- Select the new geometry (1, 2) and press Enter.
- Specify the base point for the new geometry.
Tip: When specifying a base point, using the centroid of the object to be arrayed often helps in both placing and replacing the items in the array.
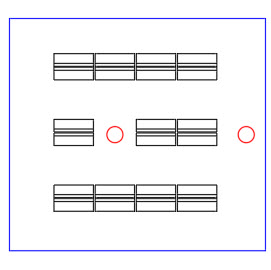
- Next, instead of selecting an item in the array to replace, choose the Source option and press Enter.
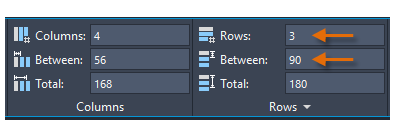
This option replaces all instances of the original items in the array, but the number of rows and vertical spacing now needs to be adjusted.
- With the array still selected, you can adjust the values on the Array ribbon contextual tab. In this case, let’s choose 3 rows and 90 as the Between distance under Rows. Press Enter to update the array.
Here’s the final result of the Replace Item operation.
Removing Items from an Associative Array
However, in real life, arrays aren’t always symmetrical.
Let’s say that we just found out that there are load-bearing columns in the room. As a result, we need to erase a pair of the display cases.

- Press and hold Ctrl and select the display case pair that needs to be removed.
- Press the Delete key or enter Erase.
The edited array continues to retain all of its relationships, and you can still change the rows and columns as needed in number and spacing.
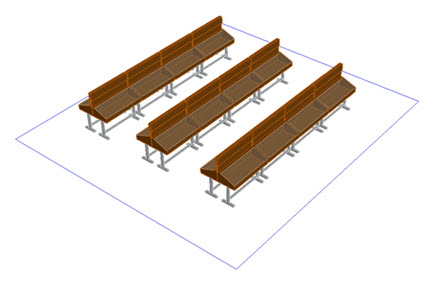
Finally, the same array operations work exactly the same if you lay out 3D display cases.
unnamed block definition, so you will save more space by creating an associative array of
objects rather than blocks.
Related Videos
For more information, watch these Autodesk videos:
- Path Arrays
- Polar Arrays – 1
- Polar Arrays – 2
- 3D Rectangular Arrays
Source: Autodesk