You can use AutoCAD revision clouds to quickly and easily highlight changes to your drawings. A revision cloud is the standard way to showcase or call attention to an area of a drawing that has been modified or revised since its original issuance. Revision clouds can be created by simply moving your mouse freely around the revised area you would like to highlight or by converting an existing object like a polyline, circle, or spline into a revision cloud automatically.
Contents
Highlighting an Area With a Revision Cloud
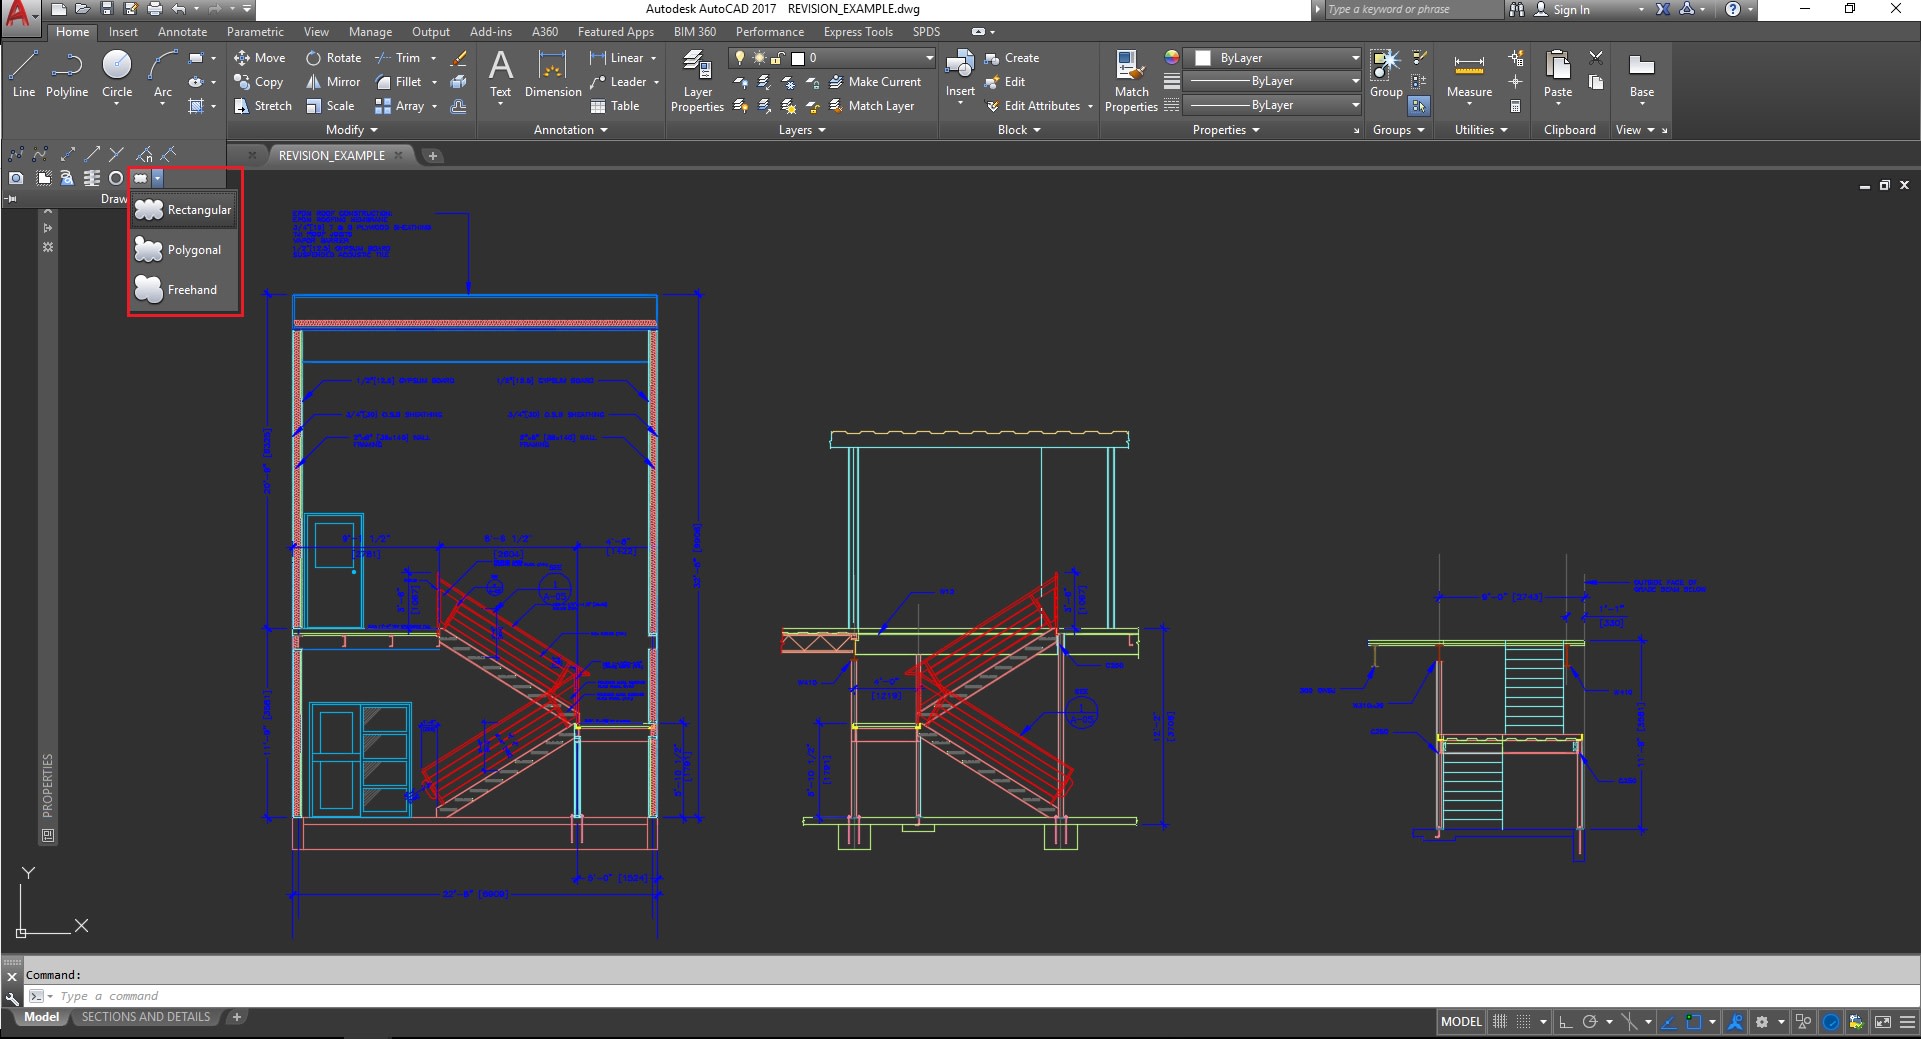
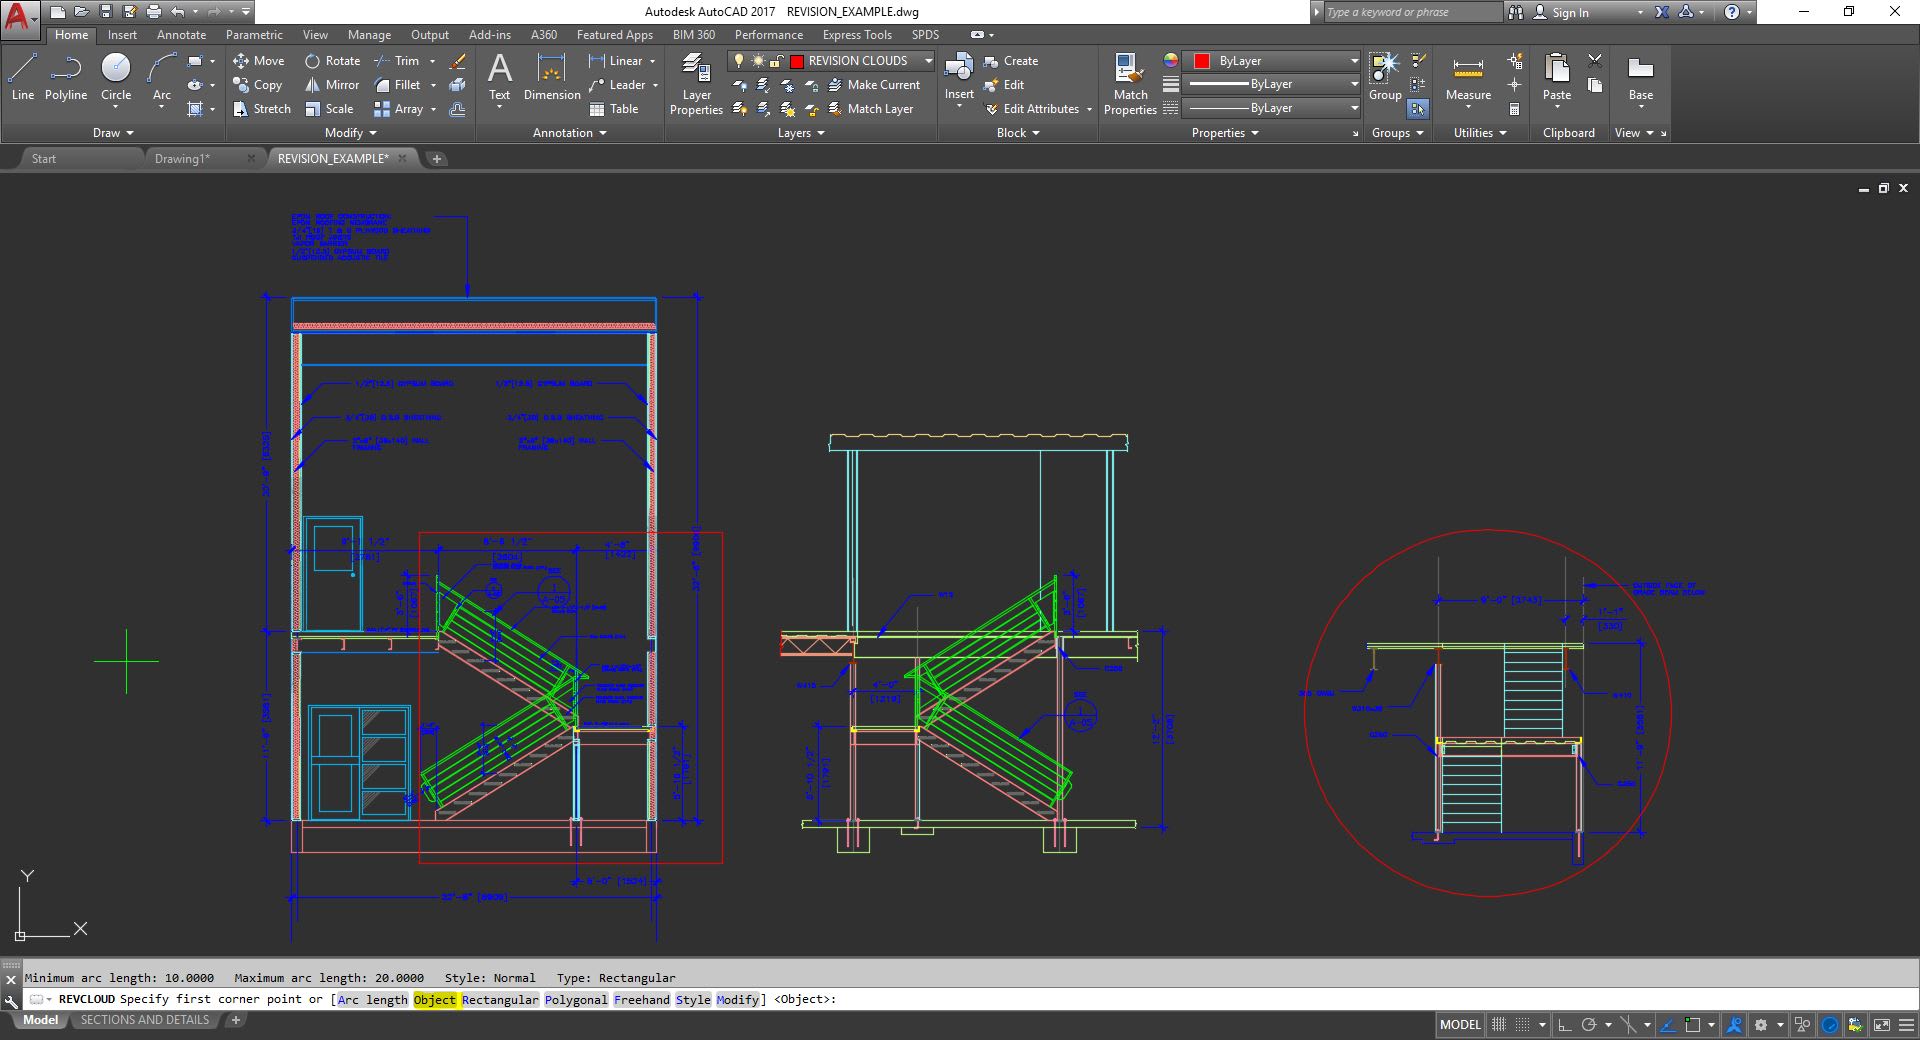
You can use your mouse to create a revision cloud in a few different ways including along a freehand path, from a rectangular area, or from a polygonal area. Simply find the revision cloud button on the Home tab under the Draw panel dropdown and use the Revision Cloud dropdown button to choose an option. You can also use the REVCLOUD text command.
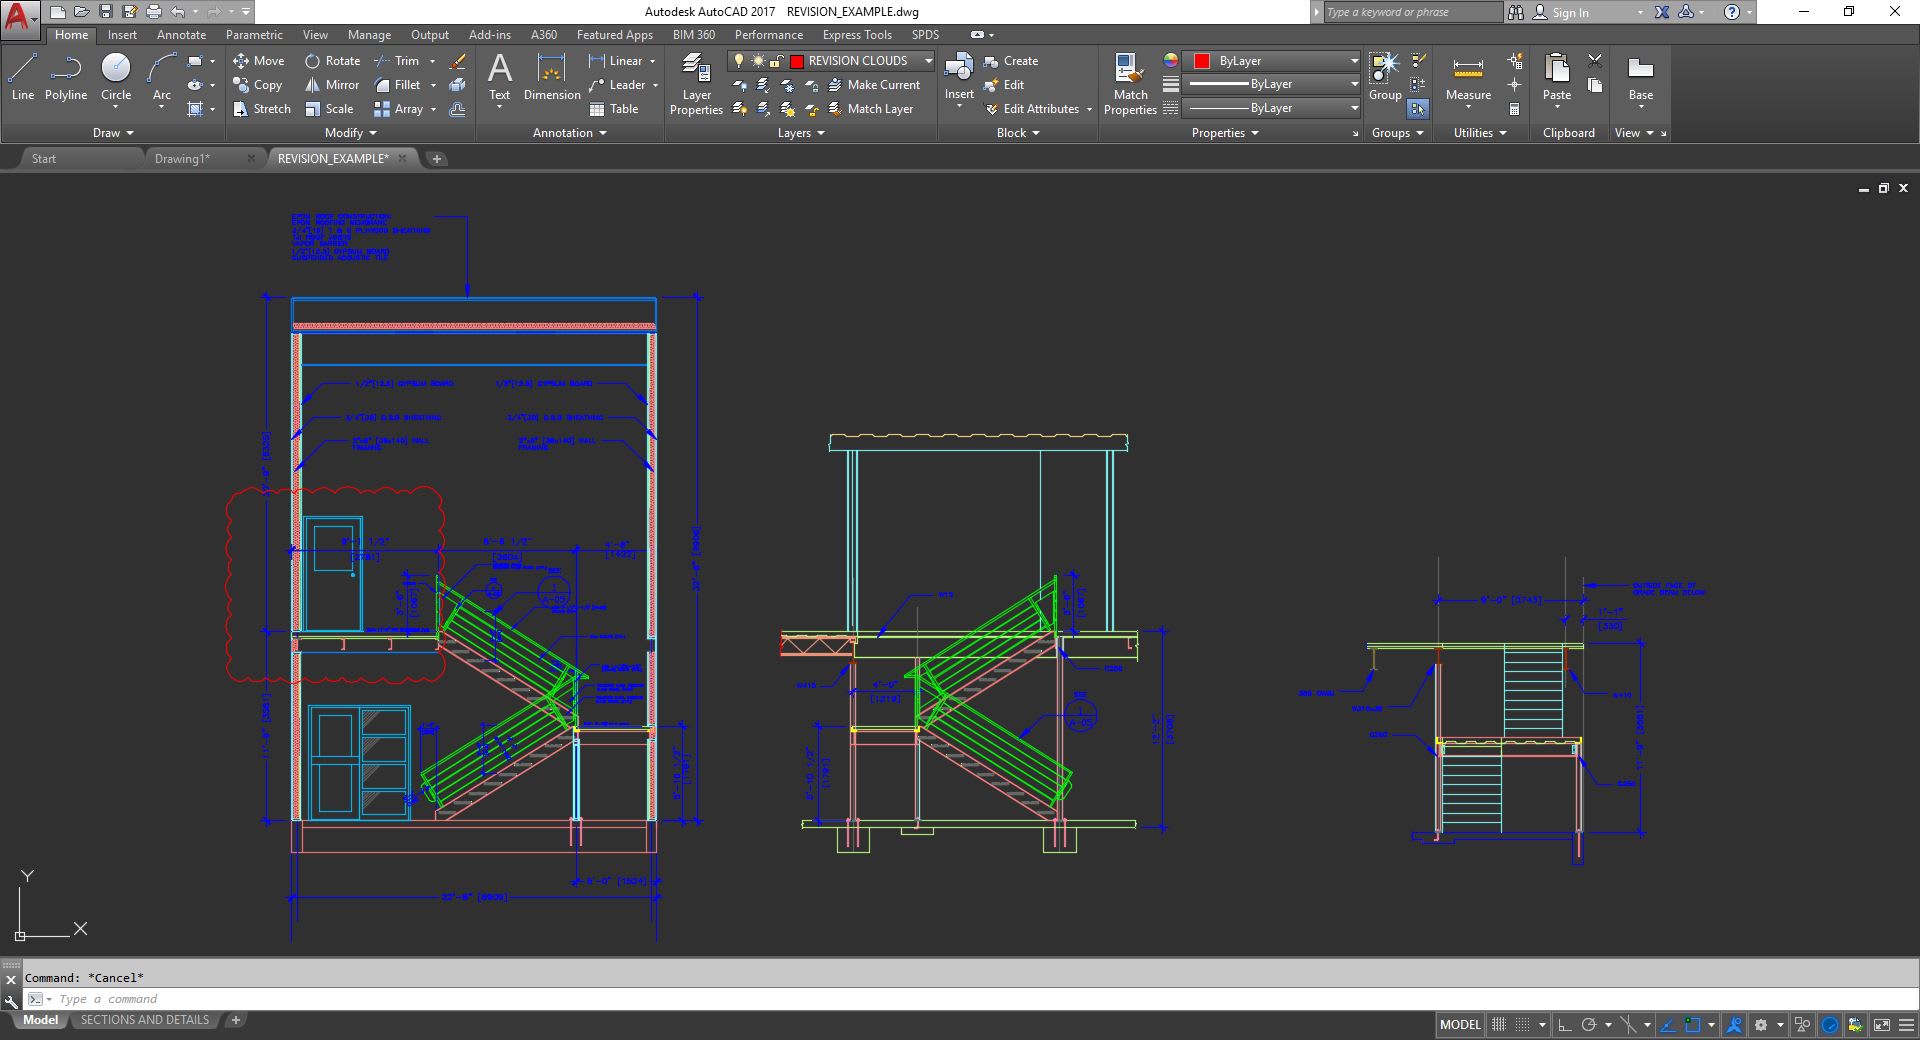
After choosing an option you can quickly select the edited area to call attention to in your drawing using one of the options. See the image below where the freehand option was used to highlight two revision areas.

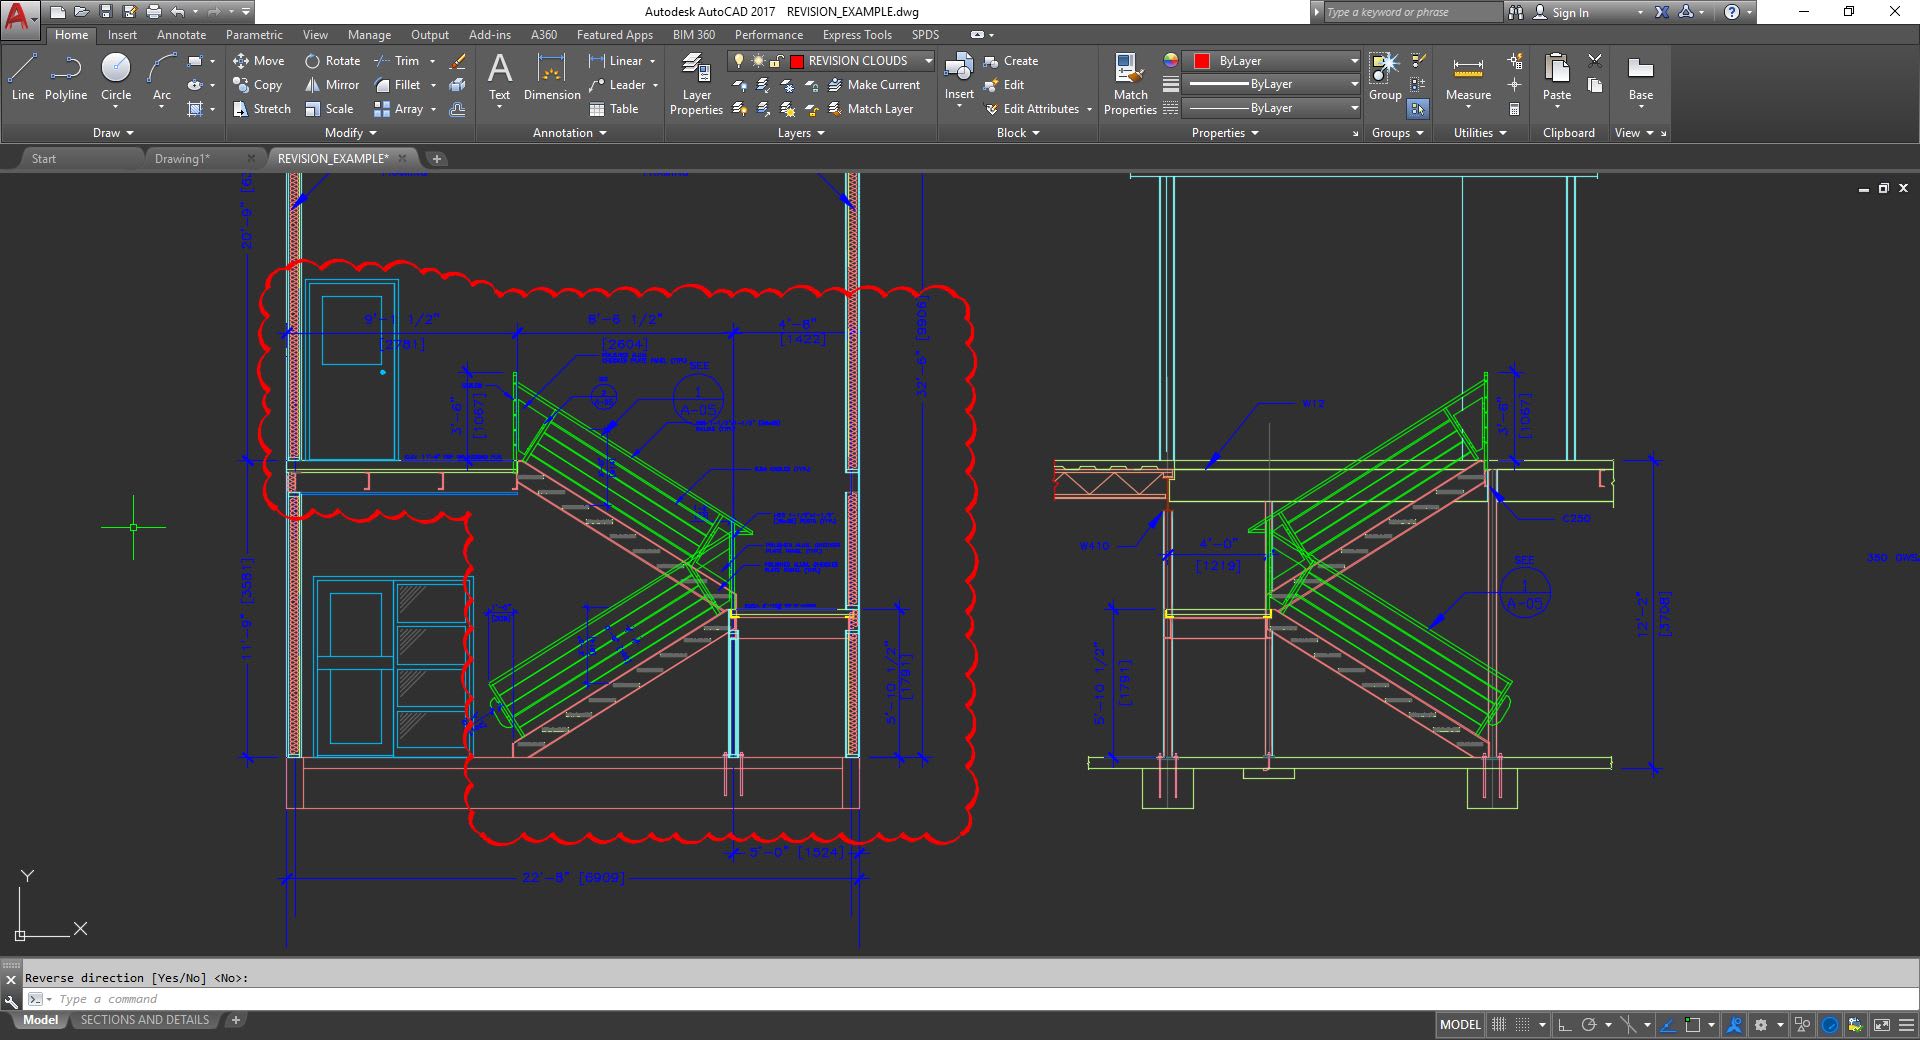
Convert Object to Revision Cloud
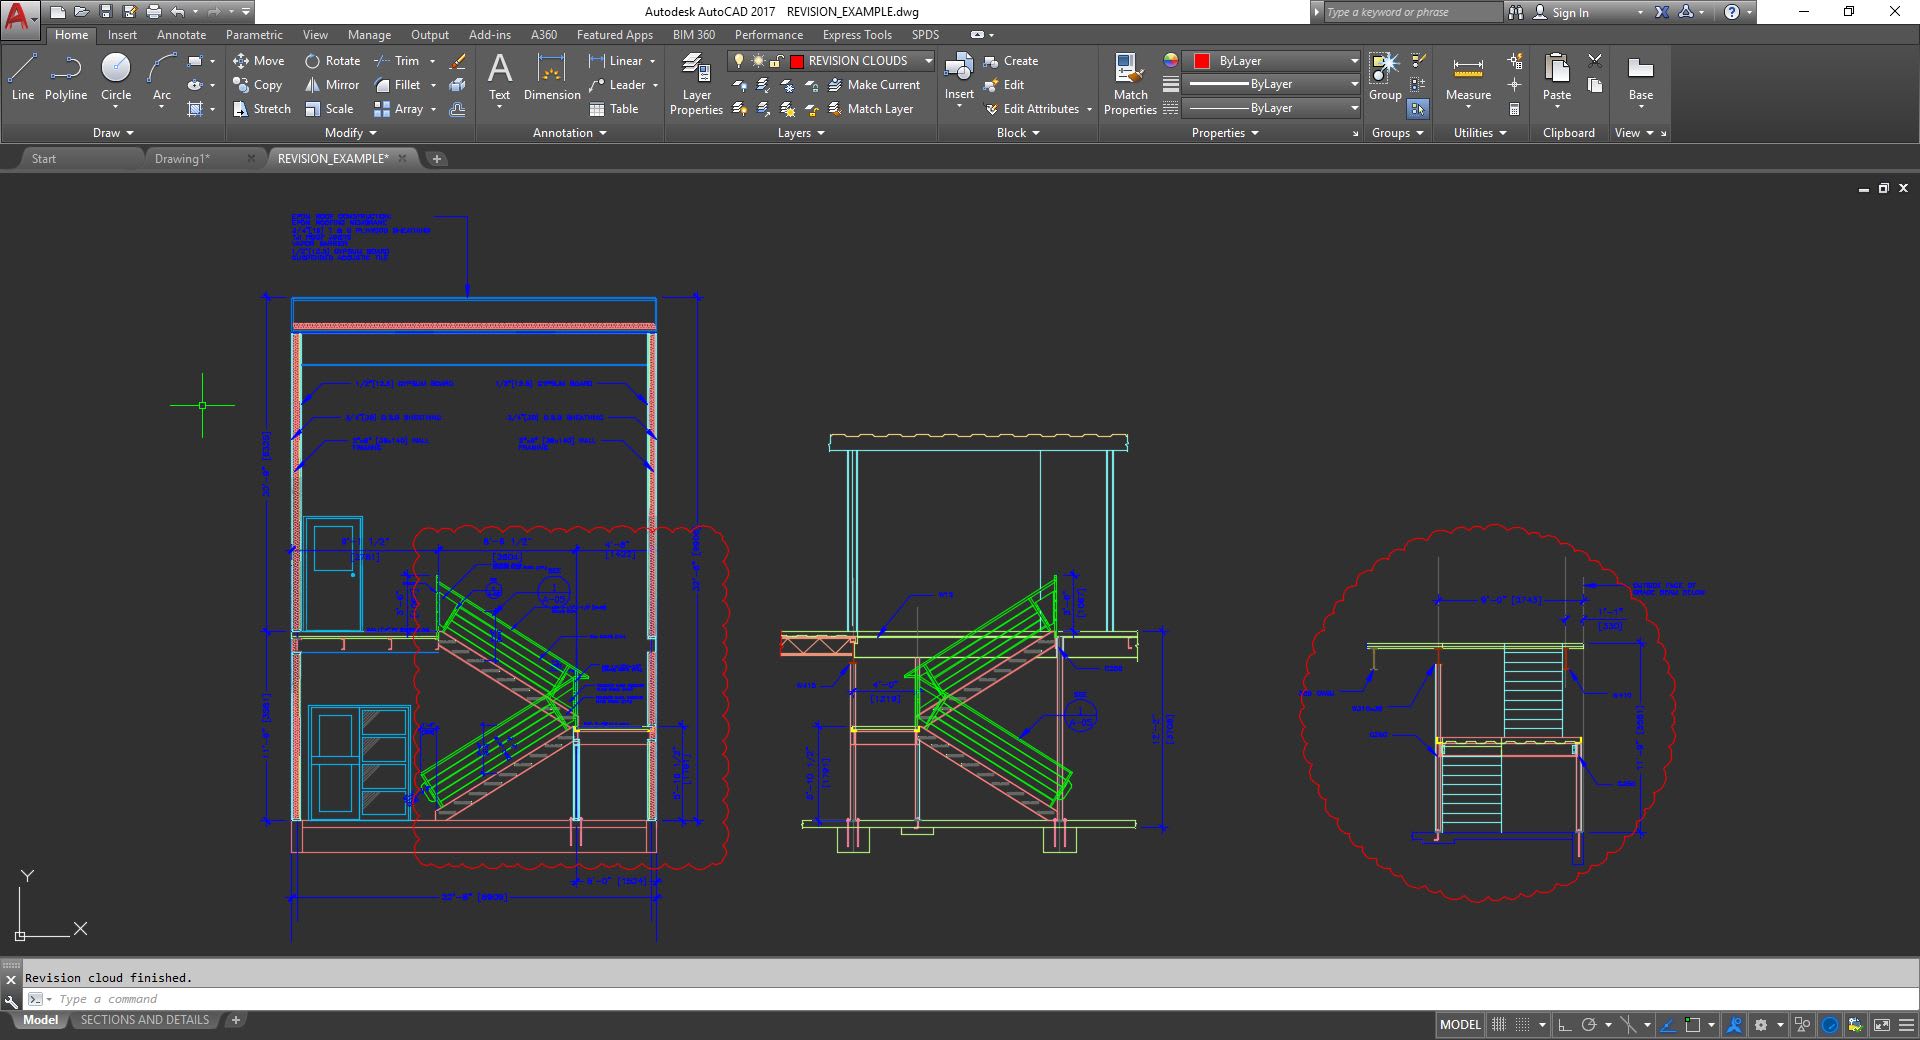
Another option you have when creating revision clouds is to convert an existing object like a polygon, circle, or spline into a revision cloud. To do this, simply activate the revision cloud command from the button in the Draw panel of the Home tab or use the REVCLOUD text command; once activated choose the Object option to select an existing object for your revision cloud.
Choose the Object option before selecting.
After selecting the rectangle and circle for revision clouds.
Revision Cloud Settings
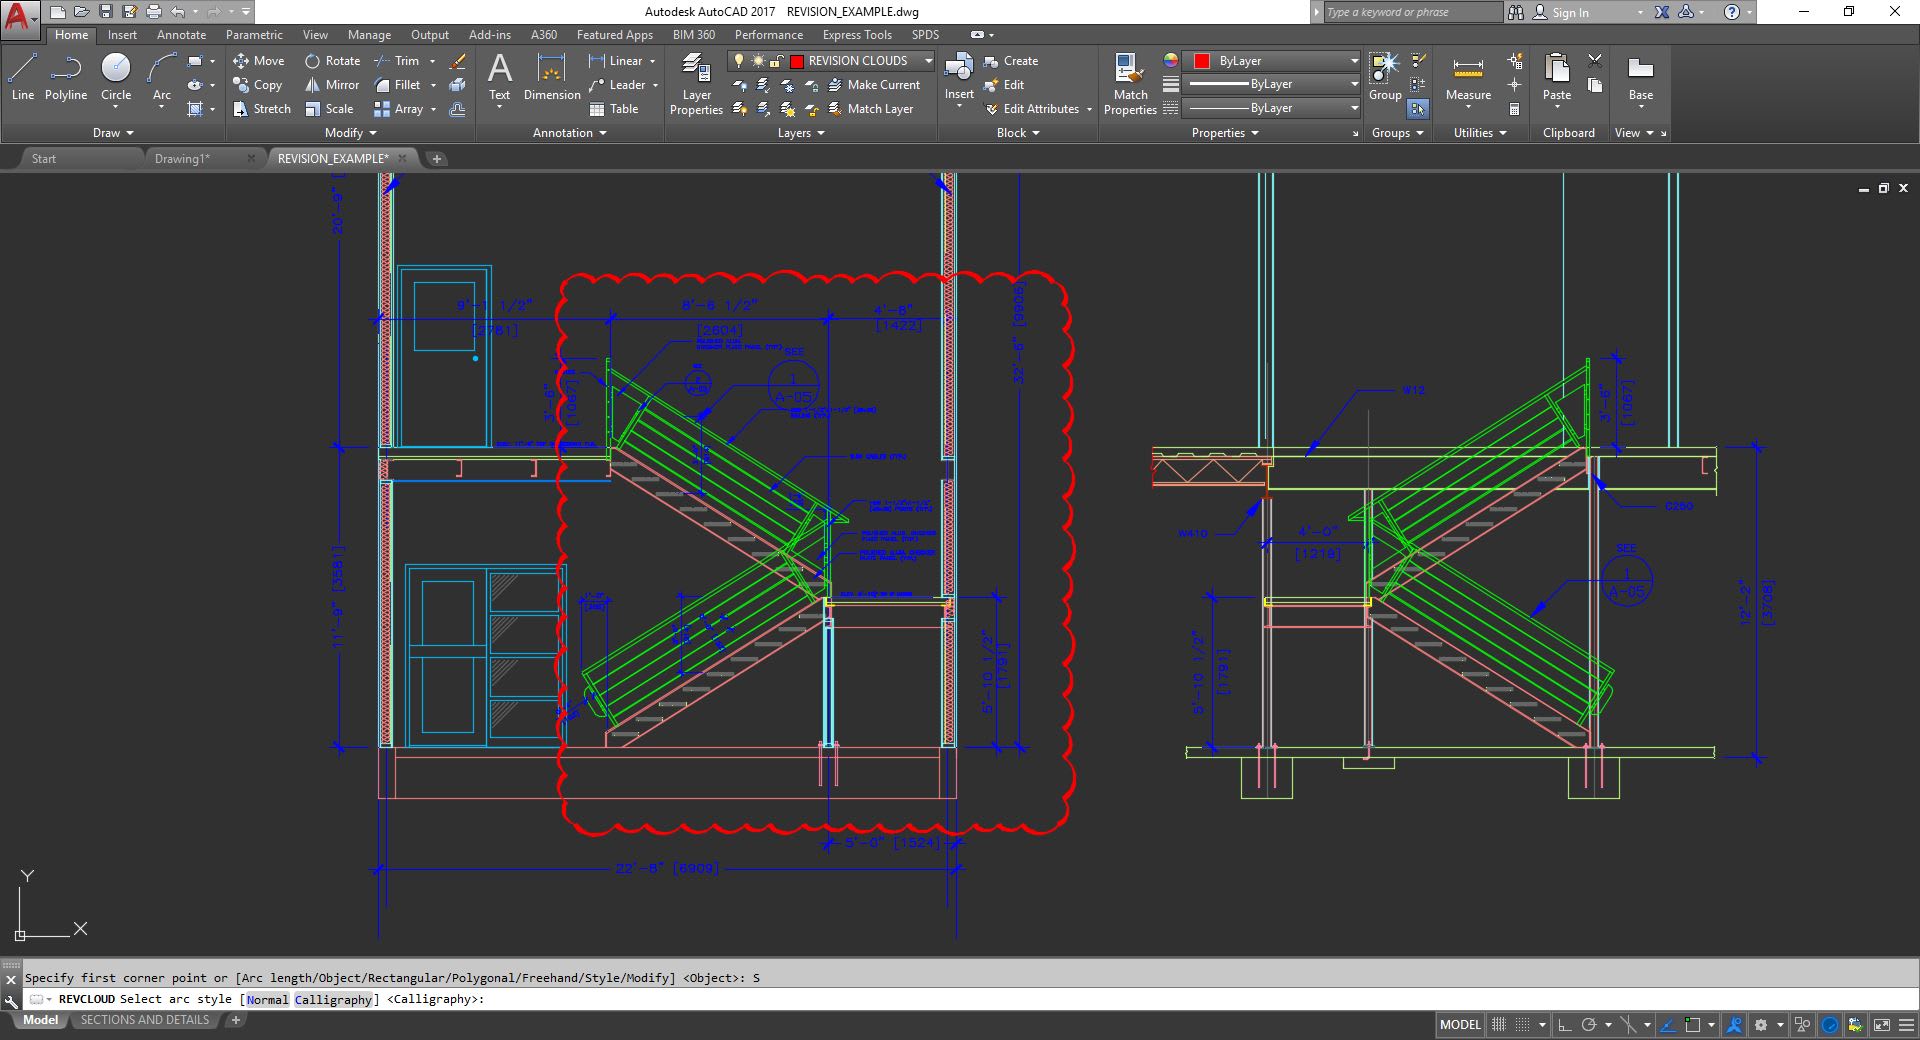
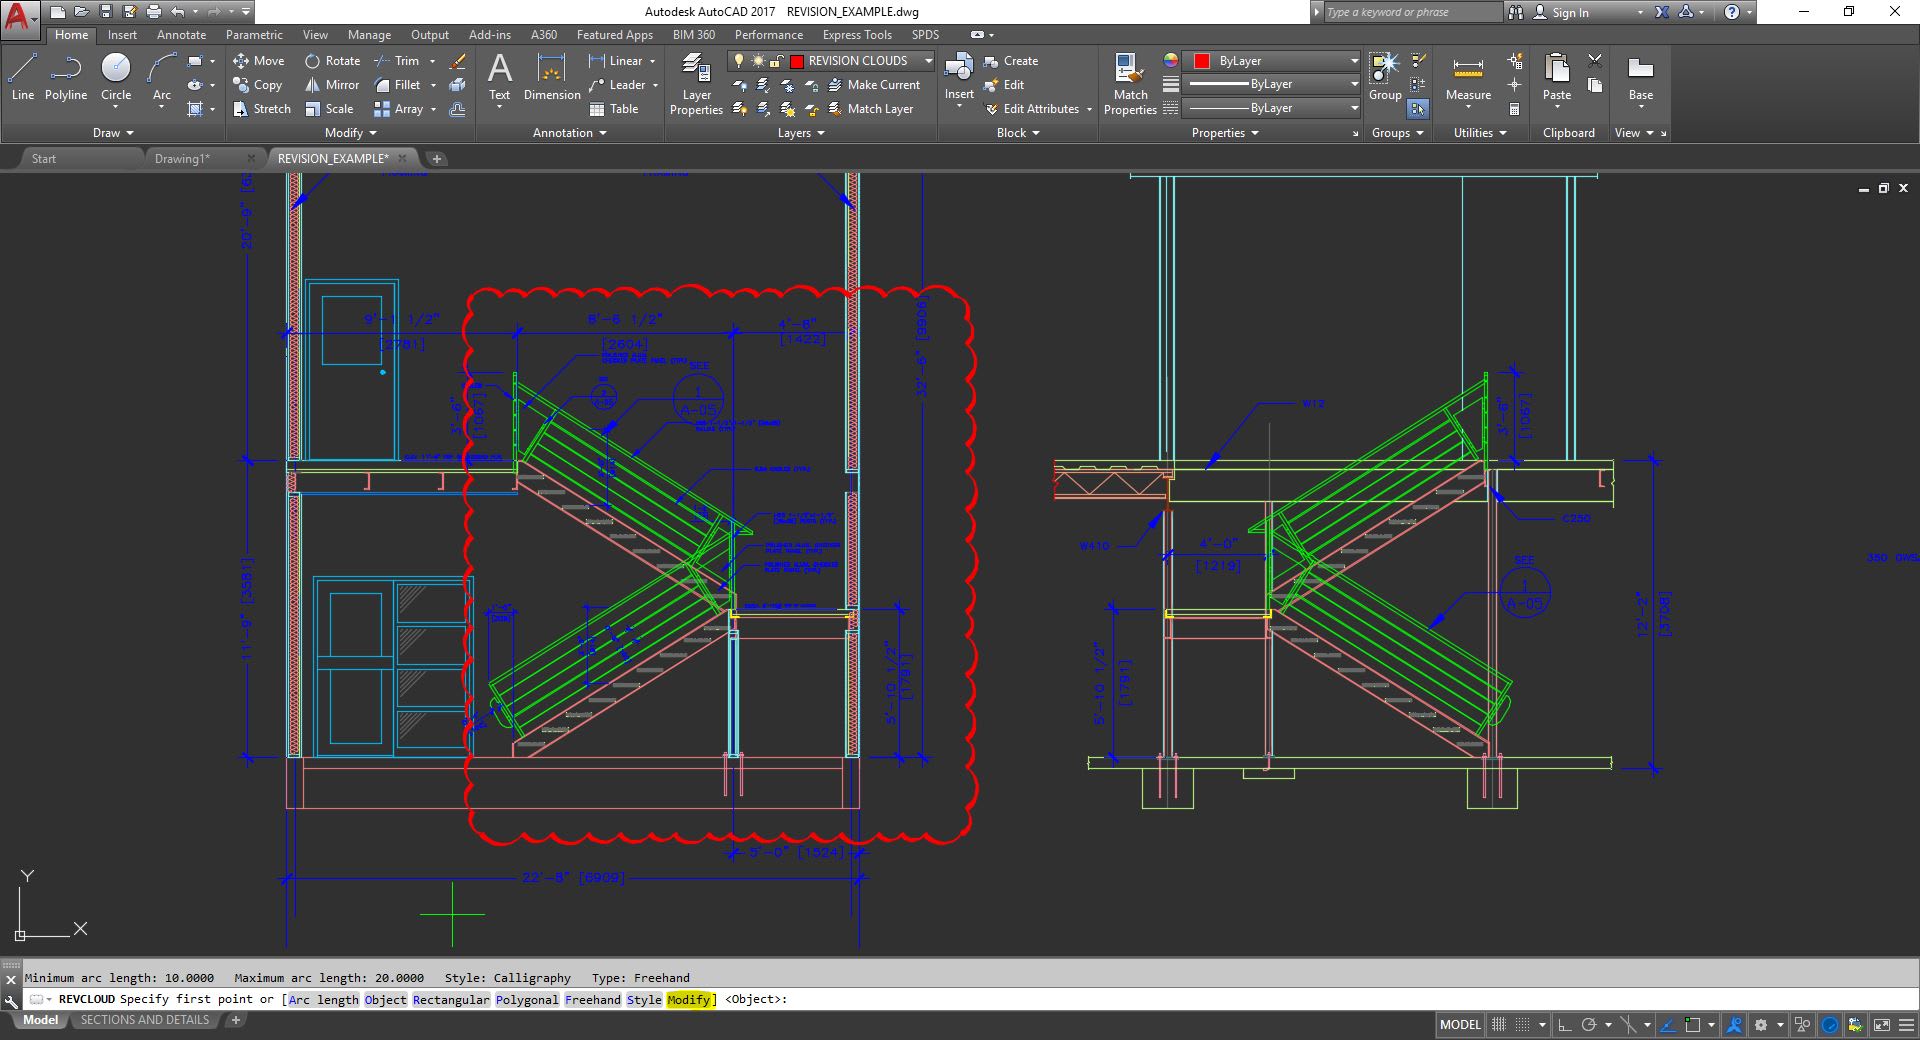
At the REVCLOUD prompt you are also able to change a few settings for your revision clouds including the arc lengths (minimum and maximum) as well as the revision cloud styling which includes Normal or Calligraphy. The latter will give your revision clouds a hand sketched or calligraphy look (see the image below).
Modifying Revision Clouds
You can modify your revision clouds by simply selecting them and moving or stretching the vertices grips to a new location as needed. You can also redraw segments or portions of your revision clouds using the Modify option in the REVCLOUD command. This will allow you to extend, reduce, or revise your revision cloud while removing the old revision cloud linework as needed. See the images below for an example.
Choose the REVCLOUD Modify option.
After selecting the new area for the revision cloud, the old line is removed automatically.
More on AutoCAD Revision Clouds
To Create Revision Clouds
To Modify the Lengths of Arcs in a Revision Cloud Using Grips
How to Draw a Revision Cloud (Video)
Revision Clouds Made Easy (Video)
Keep Exploring
Want to learn more? Check out all the benefits of AutoCAD on our Featurespage; troubleshoot and get the details on previous software versions over on the AutodeskKnowledgeNetwork; or take a look at all entries in our series, ExploringtheFeaturesandBenefitsofAutoCAD.
Source: Autodesk