Learning
Seth Cohen
Most AutoCAD users are completely aware of the standard AutoCAD modify commands (e.g., Move, Copy, Rotate, Scale, etc.).
But did you know there is another way to modify AutoCAD objects that is sometimes faster and more efficient? Let’s look at grip editing and how to use it.
Contents
What Is Grip Editing?
Grip editing is an alternative way to modify AutoCAD objects. What’s sometimes better about the grip-editing tools is that they can be accessed faster and have more options than the standard modify commands without even having to start a command.
To access the grip-editing tools, do the following:
- Select an object.
- Pick a grip.
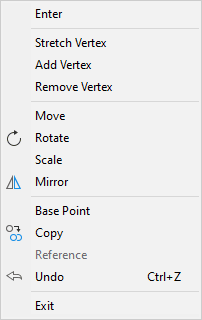
- Right-click, and choose a Modify tool from the context menu.
Notice that in this context menu are all the standard Modify
tools such as Move, Rotate, Scale, and Mirror. Also notice though that there
are some additional options such as Base Point and some Stretch commands. The
Stretch commands are available because I have selected a polyline for grip editing.
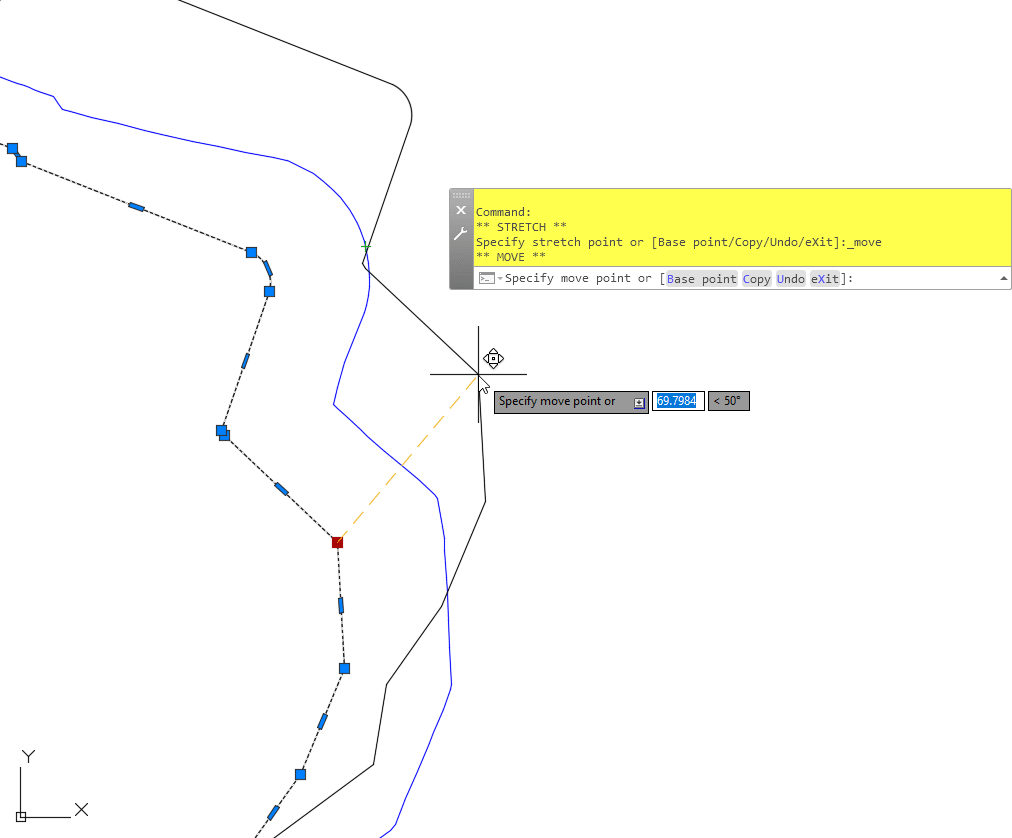
To use the grip editing tools is fairly straightforward. First, of course, follow the steps above, and then simply choose the modify tool that you need to use.
One of the great things about using the grip-editing tools is that you can change the base point anytime during the grip-editing workflow. This is a great feature of the grip-editing tools as it allows you to change the base point while you’re in the middle of a modify command. (You can’t do this with any of the standard modify tools).

Let’s look at one example of using the grip-editing tools to showcase how much faster and more efficient they can be.
Copying a Block
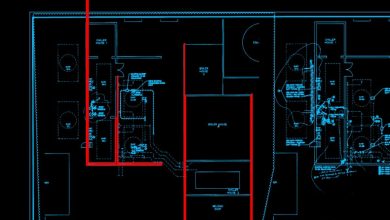
Let’s say I want to copy a catch basin block to both sides of the road.

Here are the steps to do this with grip-editing:
Step 1
Select the block.
Step 2
Pick the grip of the base point of the block. This becomes your initial grip-editing base point.

Step 3
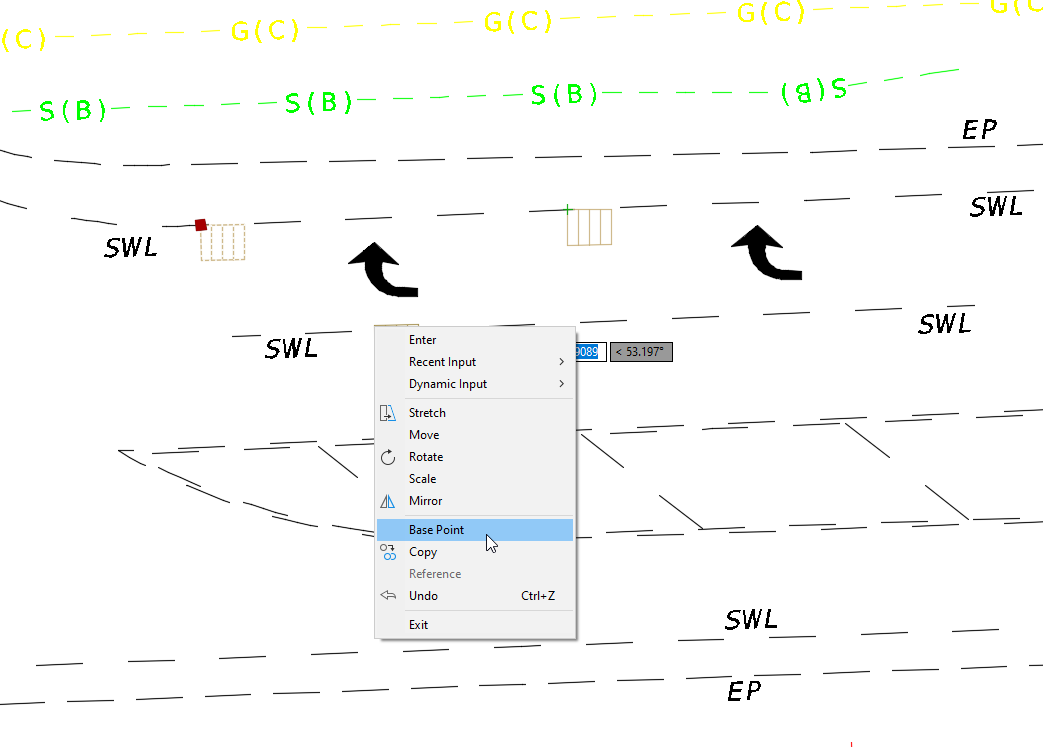
Right-click and choose Copy from the context menu.
Step 4
If that point is the incorrect base point you need to use, right-click again, choose Base Point, and snap to the correct Base Point.
Step 5
You will now be copying this block from that point.
Step 6
Now, we want to copy it to the other side of the road. So, while still in the copy grip-editing mode, simply choose Base Point again to choose a different base point for the other side of the road.
Step 7
Now simply snap to the new location with the correct Base Point.


And that’s it! A quick easy example of how to use grip editing, the alternative modify tool.
Source: Autodesk