I was recently challenged with creating an AutoCAD drawing from this AutoCAD 35 Year logo. Since all I had was a raster image, I attached it to a new drawing and began to trace. At first it was quite easy because, well, I started with the easy geometry… the straight lines! However, it soon became more challenging as I tried to match the curves between the various line segments.
Contents
Blending Objects
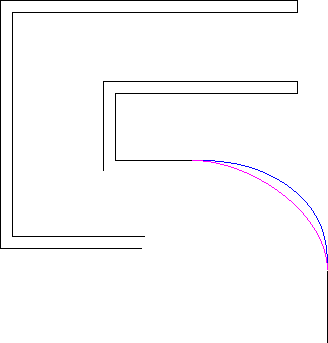
You may run across similar challenges trying to create smooth curves between a combination of objects. Fortunately, the Blend tool can offer a quick and easy solution! Simply select the two objects you want to blend together. AutoCAD automatically creates a spline in the gap between the two objects! The selected objects can include lines, arcs, elliptical arcs, helixes, open polylines, and open splines. But, keep in mind that where you select the objects matters. AutoCAD uses the endpoint nearest where you pick. So, you can get as many as 4 different blends when selecting the same two objects.
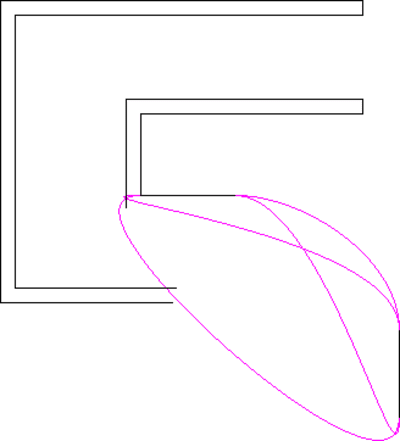
An option in the Blend command allows you to choose between Tangent (G1) continuity and Smooth (G2) continuity, slightly changing the shape of the spline and creating the perfect blend.
More Tuesday Tips
Don’t forget to check out the full Tuesday Tips series. Want more? LynnAllen’sAutoCAD2018Tips &Tricks and TheBestofLynnAllen’sTips & Tricks are available for download now!
Source: Autodesk